
Scratches and scuffs
Paint Scratch Repair in Richardson, Measured Before It Is Fixed
A cart scrape picked up off Campbell Road and a key mark down to bare metal need very different repairs. We find out how deep it goes, then pick the smallest fix that truly solves it.
Get a read on your scratch at (000) 000-0000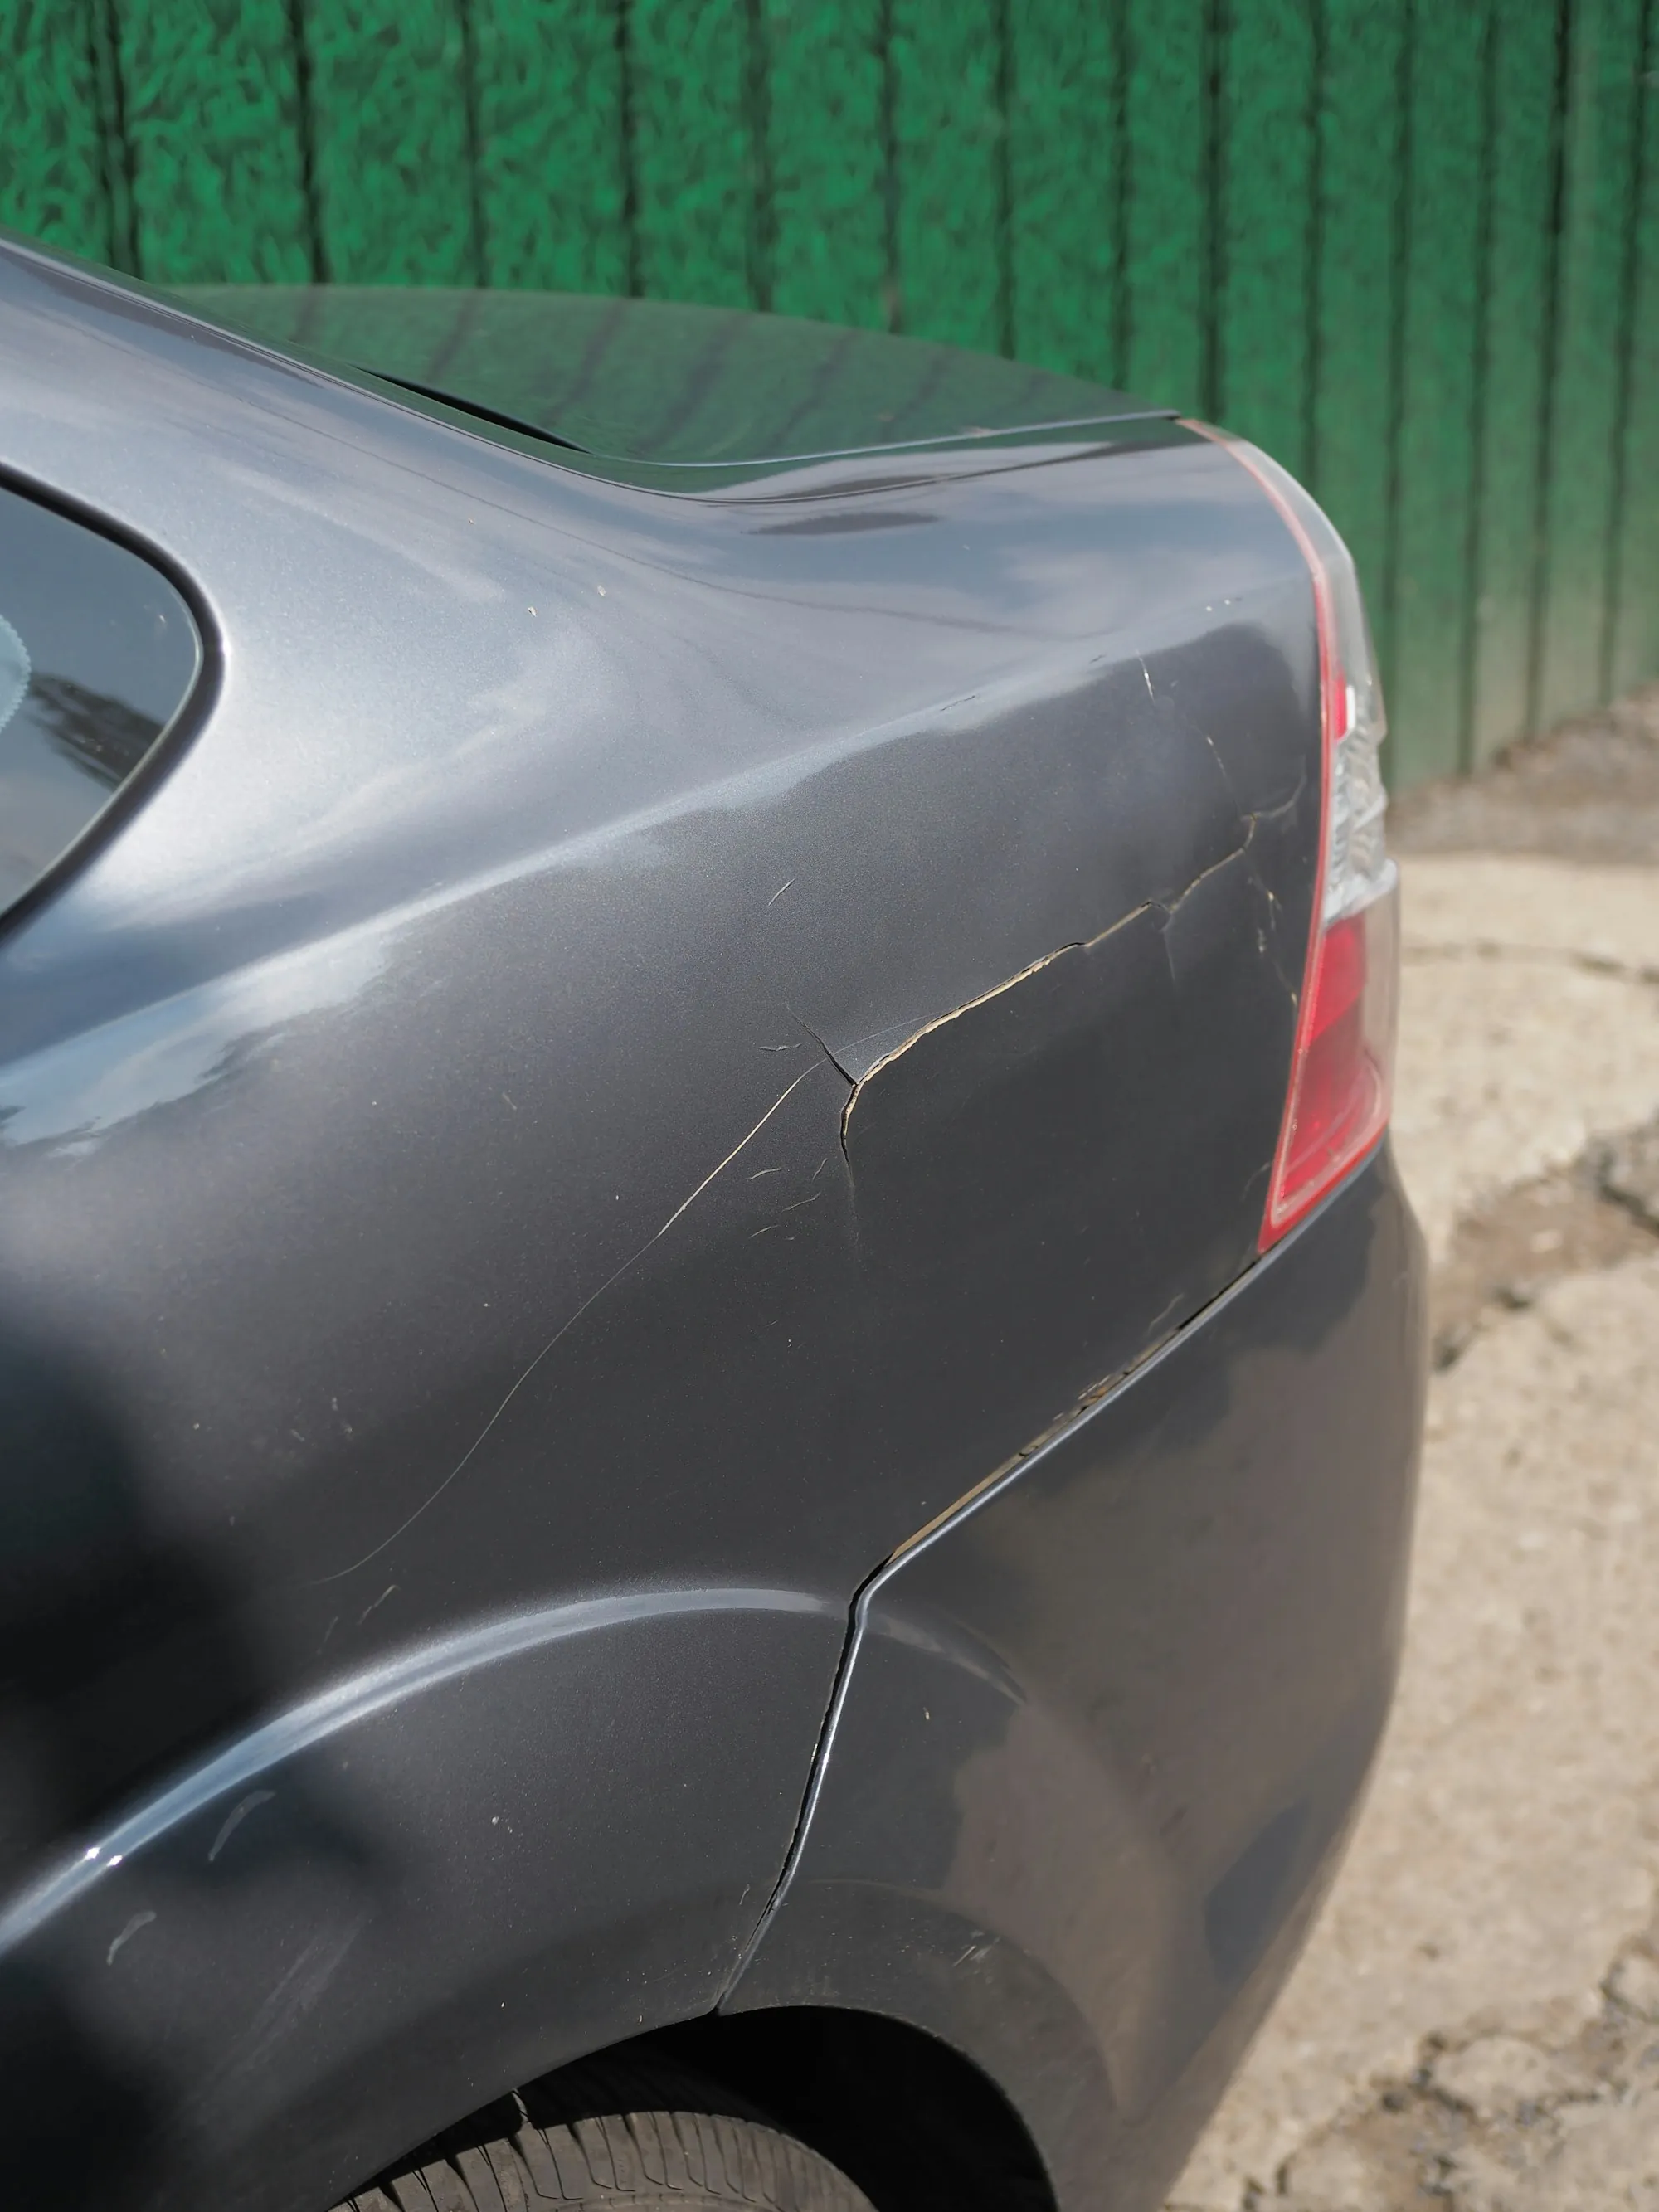
Clear Coat Is Thinner Than You Think
The entire paint stack on a modern car is roughly as thick as two sheets of paper, and the clear coat on top makes up only part of that. A light scratch that sits in the clear can usually be polished out, but every polishing pass removes a little of that protective layer. Go too far and the clear loses its ability to block UV, which leads to fading and peeling later. That is why we measure before we polish, using a paint depth gauge to see how much clear is left. Scratches that reach the color or primer need a fill or a small refinish instead. We explain which category your scratch falls into and why.
Matching the Repair to the Layer That Got Cut
Each layer of paint calls for a different technique. Here is the range of scratch work we do.
Gauge readings before any pad
We measure total paint thickness on and around the scratch so we know how much clear can safely be removed.
Fingernail and lamp inspection
Under a bright work lamp, we check whether a nail catches in the mark, which tells us if it has broken through the clear.
Machine polishing for clear-coat marks
Fine compounds and a dual-action polisher level shallow scratches and swirls while keeping as much clear as possible.
Wet sanding for slightly deeper lines
Ultra-fine sandpaper levels a scratch that polishing alone cannot reach, followed by a polish to restore the gloss.
Precision touch-up for chips and narrow cuts
Small fills of matched color and clear are built up in thin layers, then leveled flush with the surrounding paint.
Spot refinish for scratches into primer
When the mark cuts down to primer or bare metal, we refinish a small area and blend it into the panel.
Moisture sealed out of bare spots
Exposed metal gets primer before color so water cannot creep under the paint and start rust.
Sensor and camera zones protected
Scratches on bumpers near parking sensors or cameras are refinished with thickness checked so those sensors keep working.
Gauge, Choose, Correct
- 1
Measure the layers
We clean the area and inspect the scratch under strong light. A depth gauge gives readings on and beside the mark. Together those tell us which layer the scratch reaches. You get a recommendation and an estimate based on what we found.
- 2
Pick the smallest effective fix
If the mark lives in the clear, we polish or wet-sand it. If it reaches the color, a touch-up or spot refinish is the better tool. We explain each option along with what it will and will not achieve. The goal is a scratch you cannot find, without removing more paint than necessary.
- 3
Polish, blend and look again
Polished areas get a final pass to match the surrounding gloss. Refinished spots cure and are blended so the edge vanishes. We check the panel under the work lamp and again outside. Then you take a look and decide whether it meets your standard.
Why Measuring First Pays Off
Your clear coat is finite
Every polish removes material. Measuring first keeps us from trading a scratch for a weakened finish.
Right-sized repairs
Many scratches need far less than a repaint. Choosing the lightest fix that works keeps more of your original paint on the car.
Clear advice either way
If a scratch will not polish out fully, we tell you before we start rather than after. You decide with realistic expectations.
Spotted a New Scratch Along the Door?
Have a look at it in good light, then give us a ring. Drivers from Murphy, Allen and Garland bring scratches by regularly.
(000) 000-0000 for a scratch depth check